Featured Products
Part 3: Control Light and Get the Look You Want Using a Flash
I am going to explain this as easily as I can. In real life I could show you, which is how I learn easiest. I don’t want these written words to confuse you, or make you skip over it and class it “too hard”.
I am going to explain it to you in scenarios we might have all been in. Both the images below off camera flash were used. A very basic set up.


In both shots, I wanted the backgrounds as I saw them, but I wanted the subjects lit by flash. If I had of shot these images in natural light, I would have had dark subjects, or well lit subjects and blown out backgrounds.
All I used was a 580ex11 speed light for both these shots! The flash was fired into a 40 inch silver reflective umbrella (for wider softer light). My shutter speed was 200, my iso 100, and an aperture was f 7.2 for the family shot and 4.5 for the kite shot
How shutter speed effects flash photography
This element controls the ambient light. This means the light already in the shot. If it is at night, this means the lights from buildings, the stars and moon, or cars etc. If it in the afternoon, it is the golden light etc.
If I do not like the surrounding light of my chosen location or subject, OR if I want to make the background darker, I INCREASE my shutter speed to 200 (maximum). This cuts out as much light as my camera will allow in the background.
Two images one with the background purposefully darkened, one with the background left as it was to the naked eye.
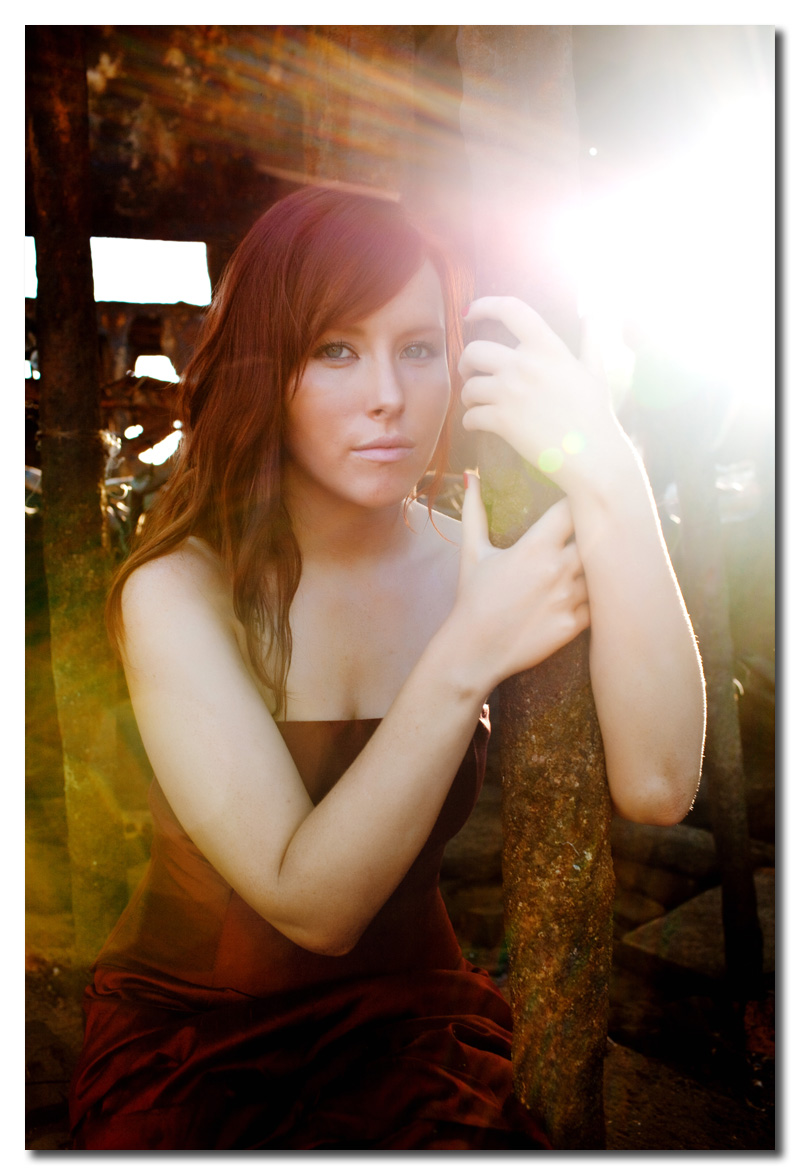
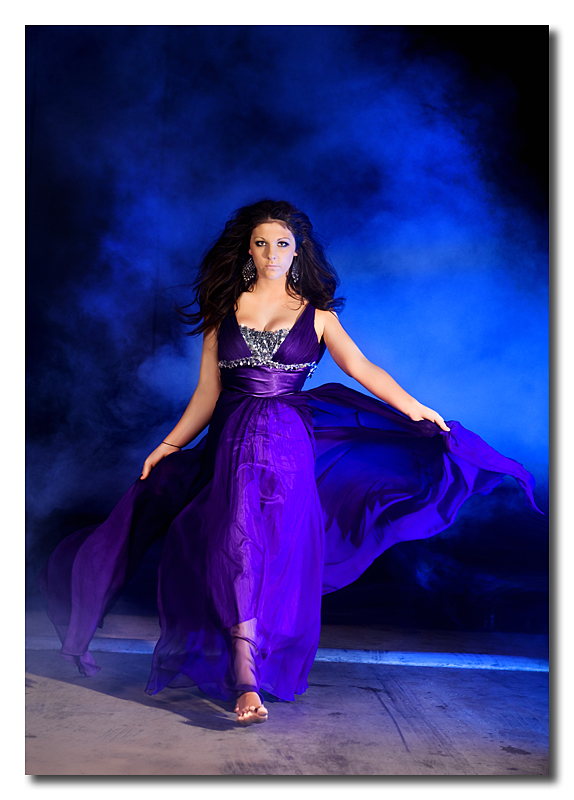
HINT * your image background is still not dark enough?*
Just like with natural light photography, when using a narrower (bigger number) aperture, you will need more light for a good image.
2.8 lets lots of light in , however if you are shooting a family of 8 you will need a aperture of around 5.6 to get them all in focus, this new aperture will allow less light to your camera, making your image darker when using the same shutter speed .
This theory also works for flash. If your image is NOT dark enough in the background for your liking, increase your aperture from say 4 to 9 or 11 , you will see the image become a lot darker, (*however you will need to increase your flash power, or move it closer to your subject to get the flash power right when using small strobes. *)
If I like my background as I am seeing it with my naked eye, and want to incorporate it into my shot, I decide how much light I like on it by lowering my shutter speed to the effect I like, from 200-10 , depending on the image in mind.
Low shutter speeds when using flash is not such a crucial element to keep your eye on as it is when shooting natural light photography portraits. Flash freezes motion, so shooting at shutter speed 30 is no big deal. Once you get below 10 you will need a tripod or a BIG flash unit.
What does aperture do?
Aperture controls the power of the flash!
2.8 gives you lots of power, 22 gives you limited power.
2.8 lets in lots of flash light (and allows the camera to give you lots of light in the shot) Aperture 22 lets in a lot less flash light , and also makes the image darker as the camera needs a LOT more light to shoot at that aperture.
If the light on your subject is too strong at 2.8, and your shutter speed is 200 (or maximum), then increase (narrow down) your aperture to say 5.6 to lower the level of power the flash has on your subject.
Once you have reached an aperture which suits the look you are after, increasing or decreasing the shutter speed will NOT alter the flash strength on your subject, it will just allow more light l or less light into the background , or overall look of your image.
For instance, both these images were taken at the same aperture, but at different shutter speeds.
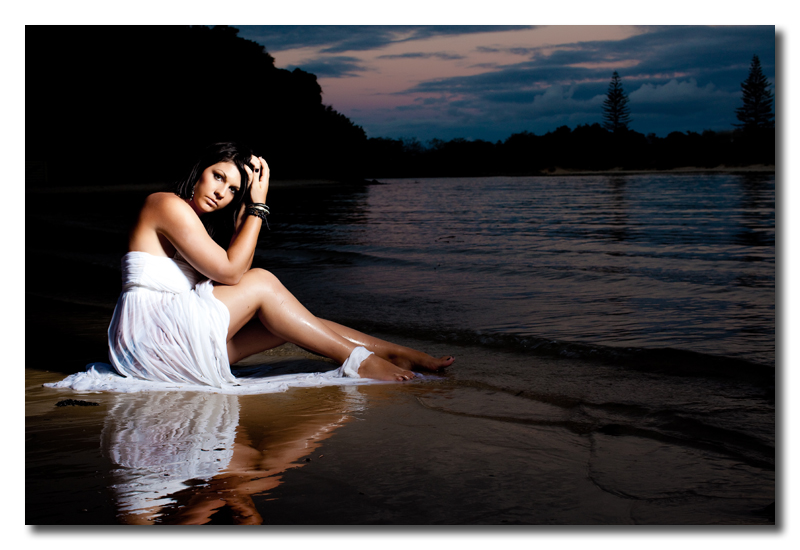
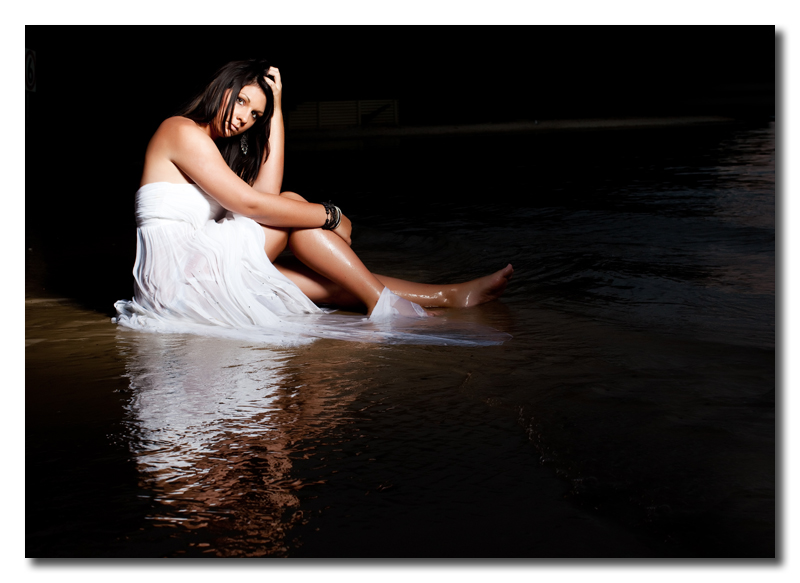
My aperture for newborn photography when using flash
If I am using flash for newborn photography my flash power is dialled way down to approximately 1/8 as I like to use 2.8-3.5 for my newborn shots, and allowing this much light in when using flash indoors ( at full power) will almost always blow it out.
If I was using 1/1 power on my flash for newborns (full power) and wanted an aperture of 2.8 (full camera light power) the strength would be too strong, I’d have to move my light way back from my subject (losing softness!) or increase my aperture making my camera need more light, the image darker, but I’d lose my depth of field. I would then widen (lower) my aperture to suit the look I was after.
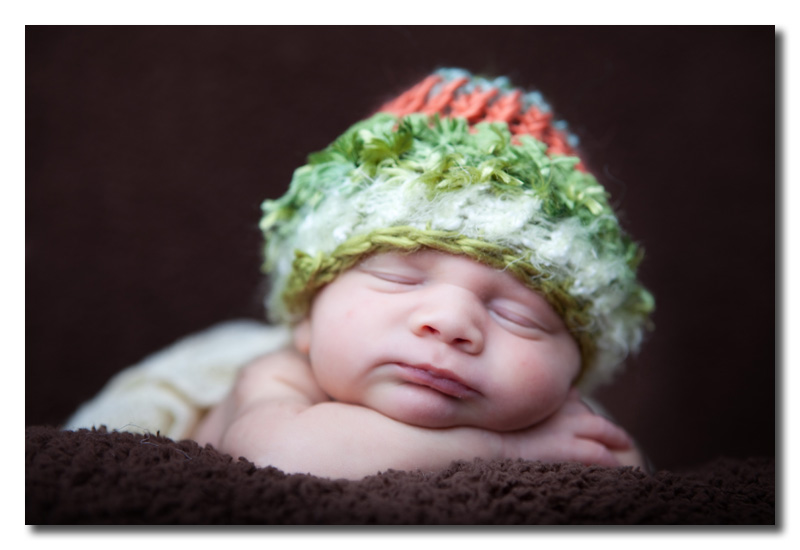
If I am shooting models or families outdoors, I am usually shooting them in a location chosen for the background colour and interest, so my depth of field is not so important.
To learn more about Wild Spirit Photography, visit our site and our blog. Check the MCP Blog daily through October 5th, for more “flashy” posts. And don’t miss out on October 6th for a contest to win a 2 hour Skype photography mentor session with me.
No Comments
Leave a Comment
You must be logged in to post a comment.


Just enough info to give an idea, but I love your examples. A fantastic DVD on the subject is Zack Arias “One Light”….I’ve watched it over and over.
Very well written! I am a hands on learner too & I think that if I read over this & practiced I could “get it”. Just wanted to let you know you did a great job writting it! Thanks for all the fabulous info. Flash is something I’ve had on my learning to do list for a while.
Love this series … I’m one of those people who has traditionally avoided using flash fearing a harsh result. Your postings are SO helpful – love the examples, I’m definitely a visual learner … any chance you could post pics of flash set up at shoot (so essentially the same as pics above just encompassing flash set up in pic too?) Thanks for breaking it down!
This is a great tutorial series! I’m learning so much! Thanks!
Wow, thanks for such a great article! This is so helpful. I have always used natural light, and learning how to properly learn flash seemed so overwhelming. Thanks for making it simple.
First, I REALLY appreciate your flash tutorials! They have been SO informative and I can’t thank you enough for putting them together. That being said, when I bought my Nikon D700 I was excited I didn’t “have” to use my off camera flash as much allowing me to get more beautiful catch lights. Is there a way to get natural catch lights and still use the off camera flash as a fill light as you mentioned in “Control Light and Get the Look You Want Using Flash Photography?” I see many natural light photographers who, somehow, manage to create amazing work without flash units… I have yet to master that which frustrates me to no end!!! I realize that my OCD isn’t always useful in photography, but I want it to be perfect. Though I consider your examples perfect (and I can’t even see the catch lights). 🙂 Perhaps I’m just being too hard on myself? Any advice/info would be appreciated!
Are these images taken with just one flash and the reflective umbrella?
These are excellent posts! Thank you so much!
This is fantastic! So simple to understand, thank you!
I am definitely one of those that is very intimidated by flash and this series was so helpful to understanding using a flash off the hot shoe. It’ll be nice to try some outdoor shots without blowing out the backgrounds trying to get enough light on my subjects! Thanks so much!
This is all making sense to me!! Yay! I have wanted to try OCF for a while now… had all the necessary items in a wishlist on Amazon for at least a year, but I think this is what I will be asking my hubby for at Christmas now. 🙂 I just love the look- so dramatic! And for me, the outdoor ones are the BEST. Indoor studio shots, nice, but what makes me want to do OCF, those amazing outdoor pictures you post. Thank you for this amazing series.-Sarah
Fantastic series! Thank you so much!