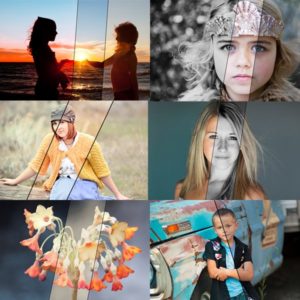
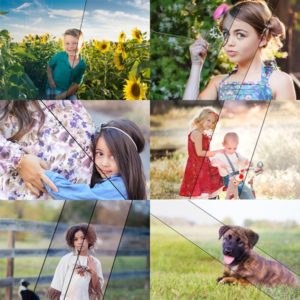
Featured Products
-
Sale!
-
Sale!

-
Sale!
-
Sale!

-
Sale!


A few close photographer friends of mine got a sneak peek as testers for our upcoming Lightroom Presets. I am featuring some of them in upcoming weeks so you can see how to edit with these new tools. Make sure to check back Monday, October 17th to get your presets!
Picture edit 1 is from Andee of Crave Photography and Design.
Her work is incredible and she often spends significant time crafting her images. Our Quick Clicks Collection, launching on October 17th, is helping her edit faster. She used a combination of Raw editing and Photoshop on the image below. Here are the presets and actions applied – in this before and after “Blueprint.”
- Started with a “click” of white balance using the Cloudy Day preset.
- Added a tint, Rum Raisin, from the Black and White section (yes, you can add these to your color images too for even more possibilities)
- Then in 4 more “quick clicks” – Booster Shot Strong to add contrast, Crisp Light to add midtone contrast, Sharp Attack Medium for sharpening, and Burnt Edges 2 for a vignette.
- Then, Andee opened it in Photoshop and used the MCP Eye Doctor and Magic Skin retouching actions to complete the look.

Before Editing

After editing with Quick Clicks Collection, Eye Doctor, Magic Skin
Picture edit 2 is from Jean of Jean Smith Photography. I interviewed her and her husband Travis, of the He Said, She Said workshop a few months ago. I was lucky to attend and they are just amazing photographers and people. Jean edited her image below in Lightroom. She used the following presets from our collection.
For the color edit:
- Best guess (white balance)
- Treasure Chest
- Cookie Dough
- Blowout Buster Strong
- Sharp Attack Light
For the black and white conversion:
- In Between Cookies
- Fill Flash Light
- Blowout Buster Strong
- Sharp Attack Light

No Comments
Leave a Comment
You must be logged in to post a comment.


Recent Posts


Thank you for posting the “recipes” to these edits! I love seeing before-and-afters, and how I can recreate similar processing steps for my photos.
Oooh, I enjoyed reading this. I SOOC’s are pretty nice but I really like f=the final edits.