Featured Products
What A Photographer Sees: Heart Shaped Bokeh Lights Tutorial
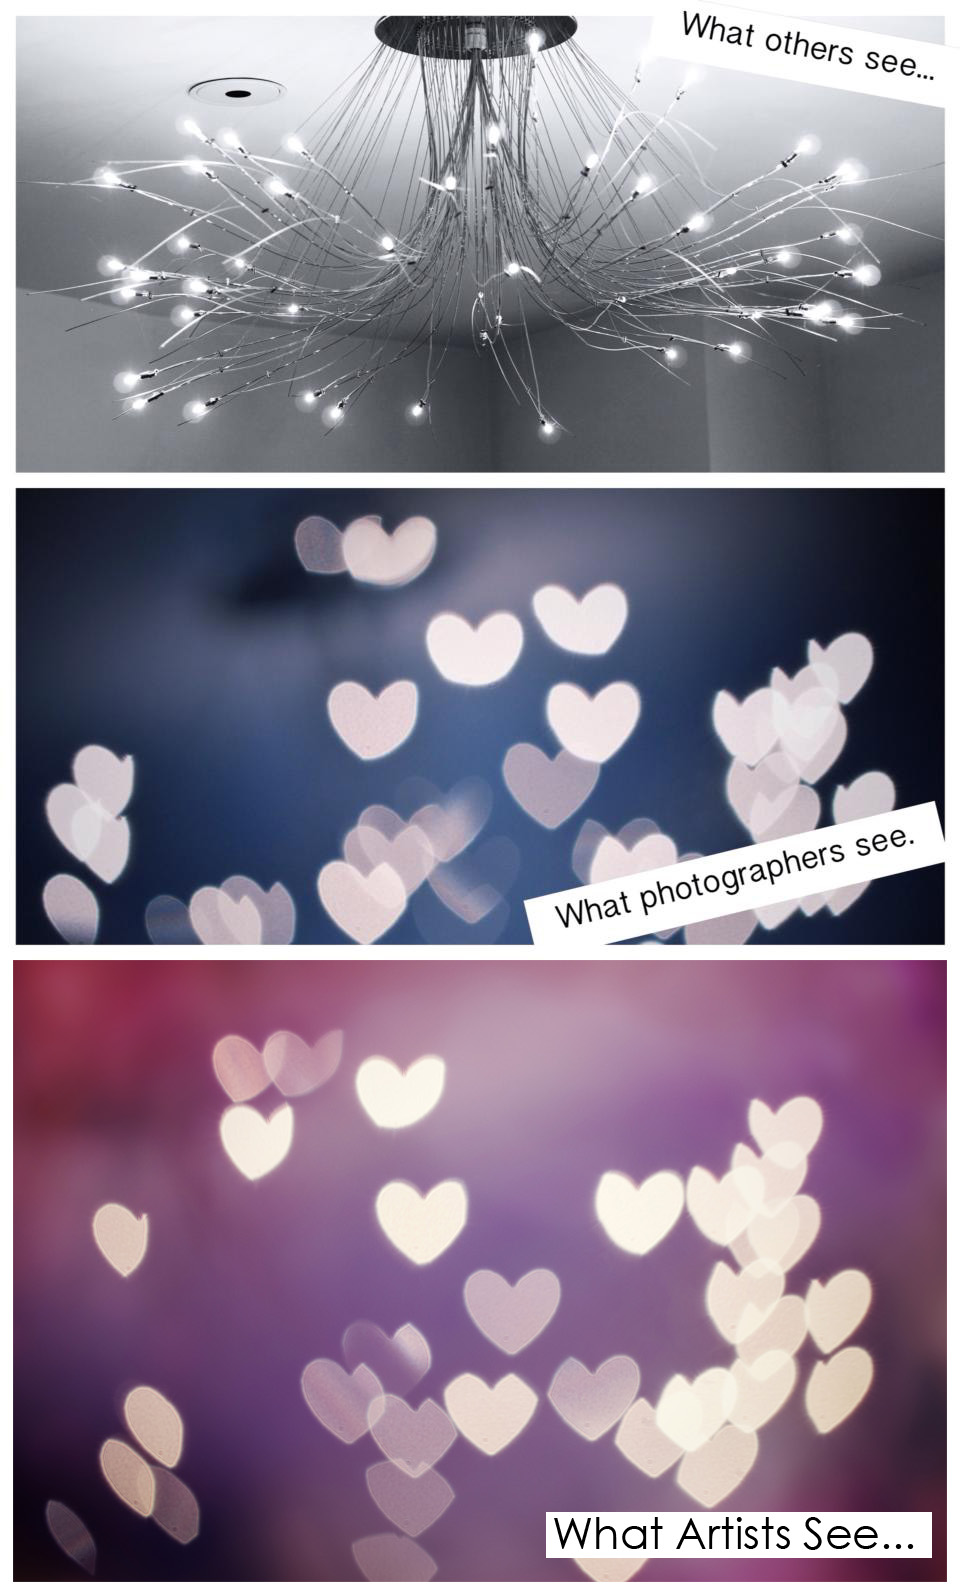
As photographers we often see people, objects, and the world in a different way than most others. Often times I can be found in odd positions: laying on the ground in a public place such as the beach, climbing high to get a unique perspective, or even taking photos of common objects, such as the chandelier below. Those who do not understand photography might question, “why are you taking so many photos of a light fixture.
On a recent trip to Atlanta to visit my parents, I was taking photos of this light. My dad came in and looked at my curiously. When I showed him the images on the back of my camera, he seemed perplexed. He could not figure out how I turned his fixture into hearts and how I thought to do it in the first place.
It is so easy. Learn how below…
How to turn light into shapes
- You need an SLR, lens with a wide aperture (1.2-2.8 should work great), and cut out shapes to put on your lens. Here’s the do it yourself method. If you prefer the “easy” way, which is what I used, you can buy a bokeh lights kit.
- Next, add the cutout shape to your camera.
- Adjust your aperture to the widest setting available (this is the smallest number).
- Switch to manual focus. If you only want bokeh, start turning your focus ring until you see the light morph into the shape of your cutout object. If you have a person or object you want in focus, then make sure the lights are far away in the background. Focus on your subject and the lights should fall out of focus creating the shape.
Now for the “Artistic” part
Below you can see the results of taking the photo of the fixture, then of using this method, and lastly of a quick edit in Photoshop.
- To give the image a more fun, artistic look, I started by using the Beach Bash Photoshop action from the Four Seasons Set. I wanted some dimension to the image. I used texture 28 from MCP Texture Play Overlays on the “screen” blend mode at 60%. Then I wanted more vibrant colors so I used Color Carnival from MCP Four Seasons actions (making sure this was on top of the texture for maximum impact. Reduced the opacity to 32% for the final image.
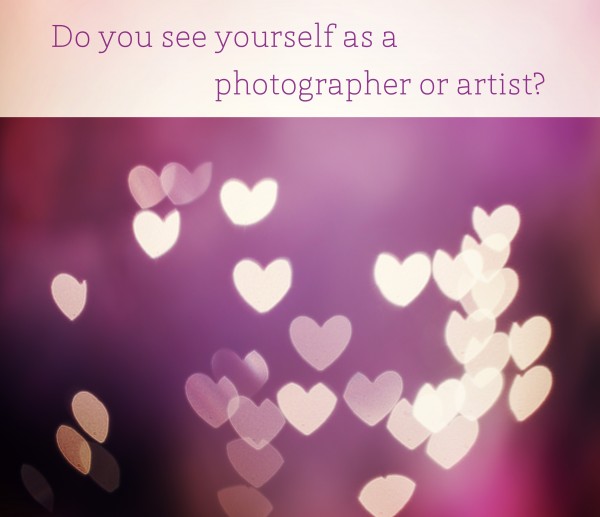
So, now my question for all of you. Do you see yourself as an “other” (just a fixture), a “photographer” (where you try creative things in camera), or an “artist” (where you like to manipulate/edit what comes out of the camera for a more artist interpretation)?


